
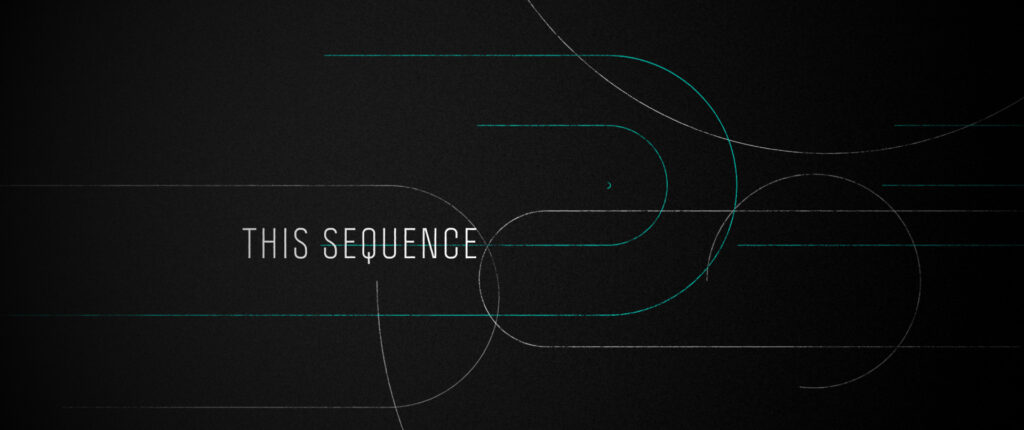
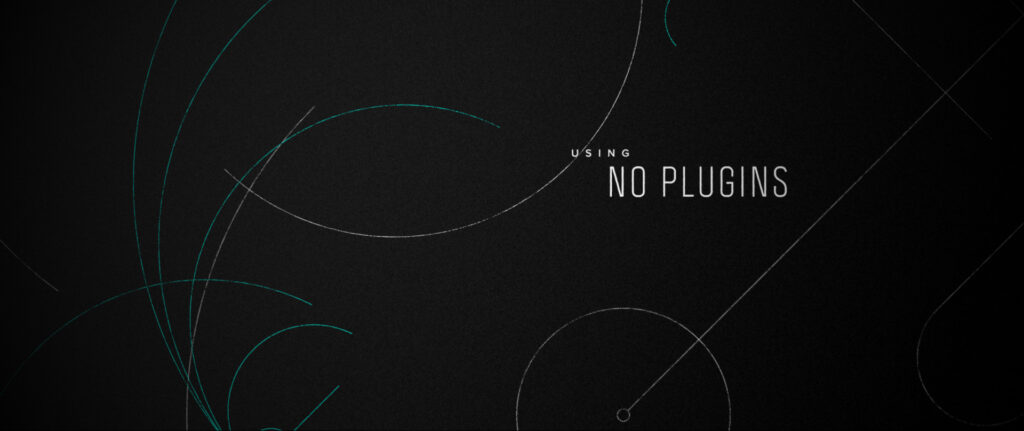
The goal was to create an atmospheric title sequence using only the built-in Adobe After Effects tools and without using any external images or footage.
Firstly, admittedly, Adobe Illustrator was used to create the lozenge shapes which were imported into After Effects.
Though, to animate these they had to be converted into Shape layers inside of After Effects. The lozenge shapes could have been formed directly inside After Effects but Illustrator is much more suited to this design task.
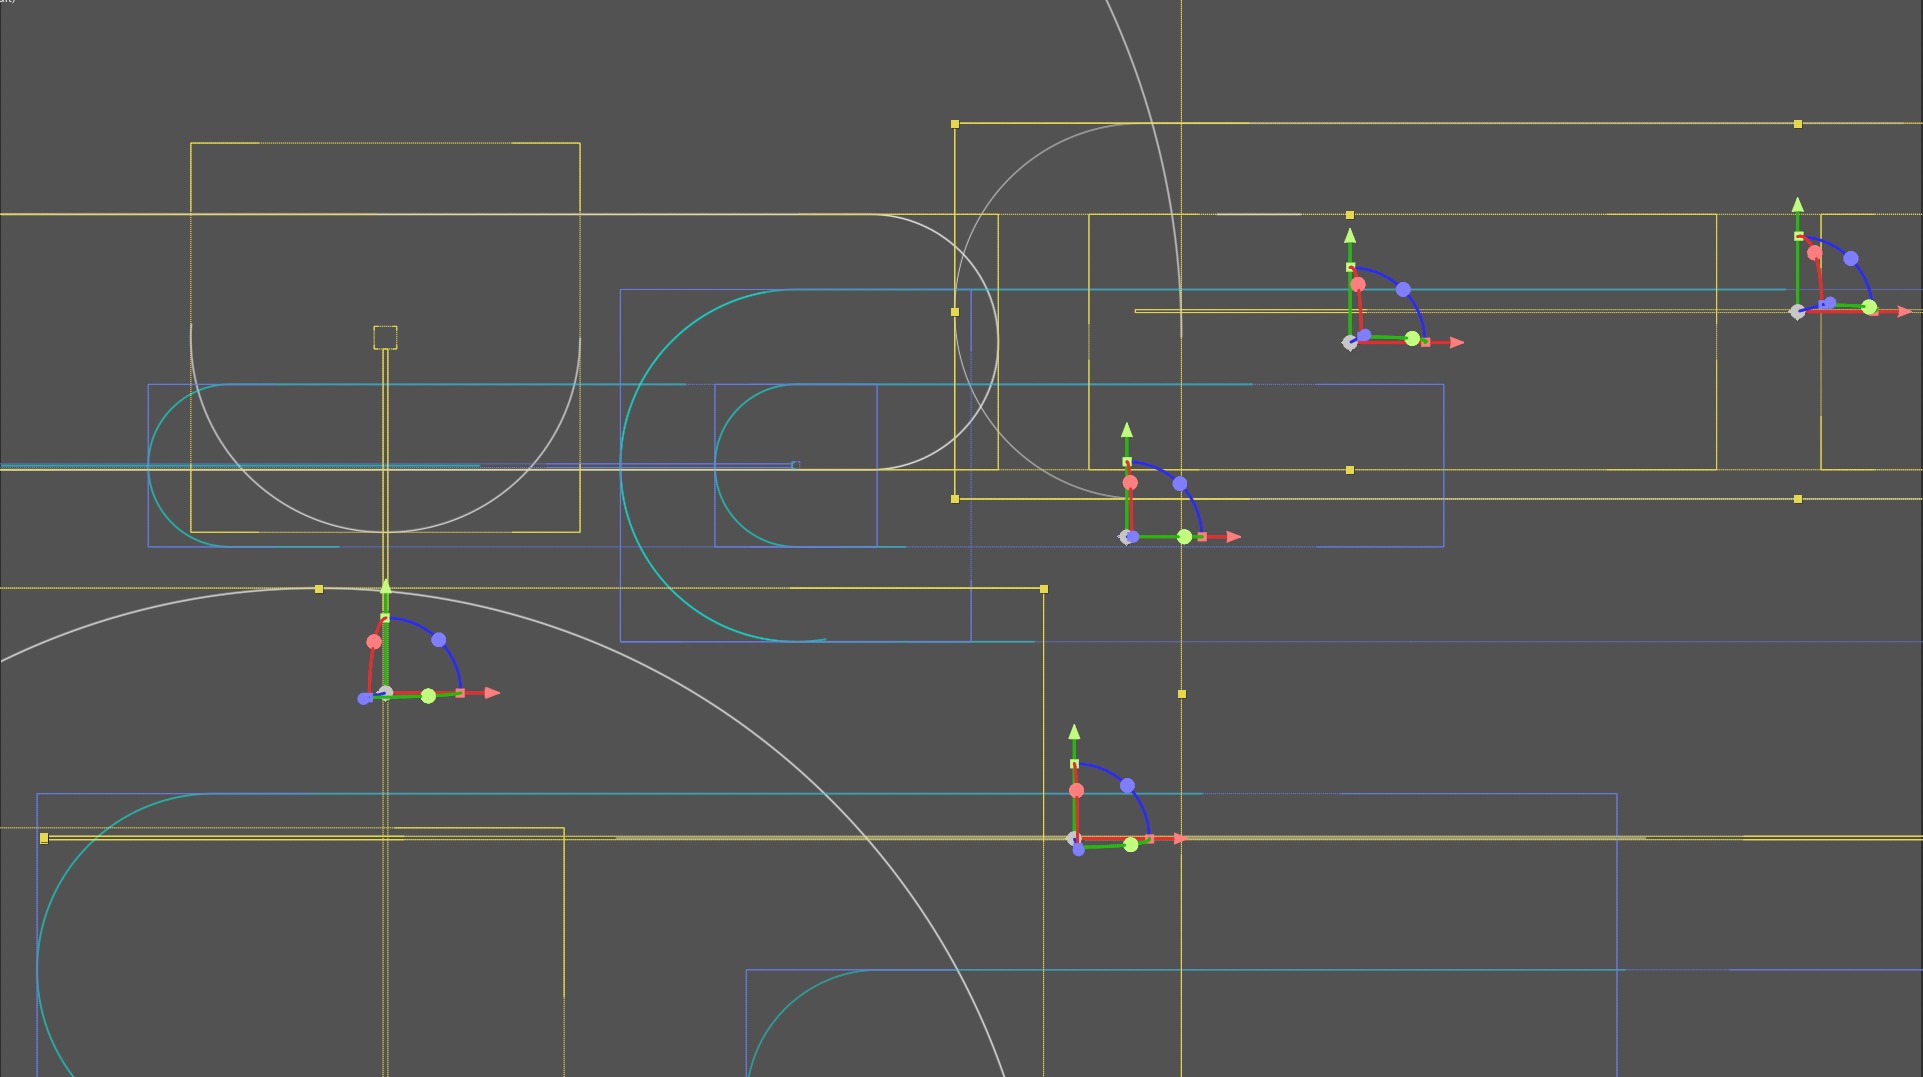
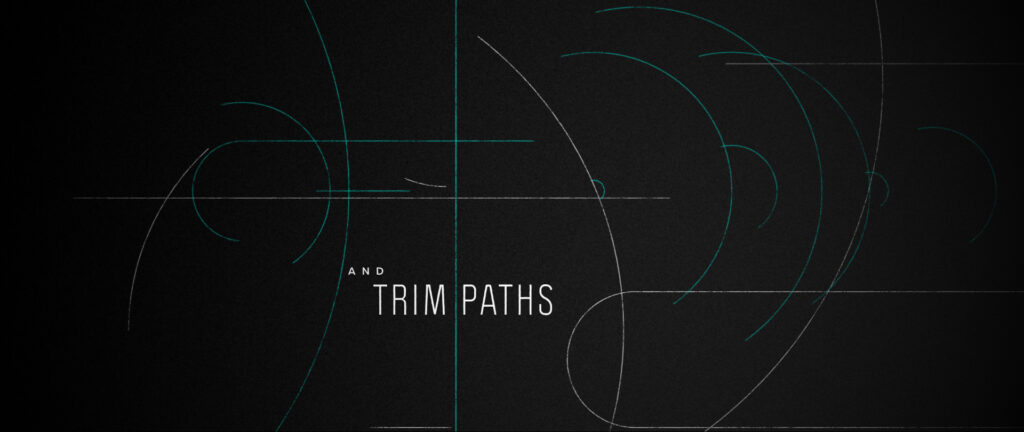
Once the layered Illustrator files were imported and converted to shapes a Stroke was added, along with a Trim Paths effect. With an End Point of 50% the Offset was animated with the expression ‘time*40’ which moved the line going around the shapes at the desired speed.
Each Shape layer was switched to 3D and their Z positions moved backwards in 3D space.
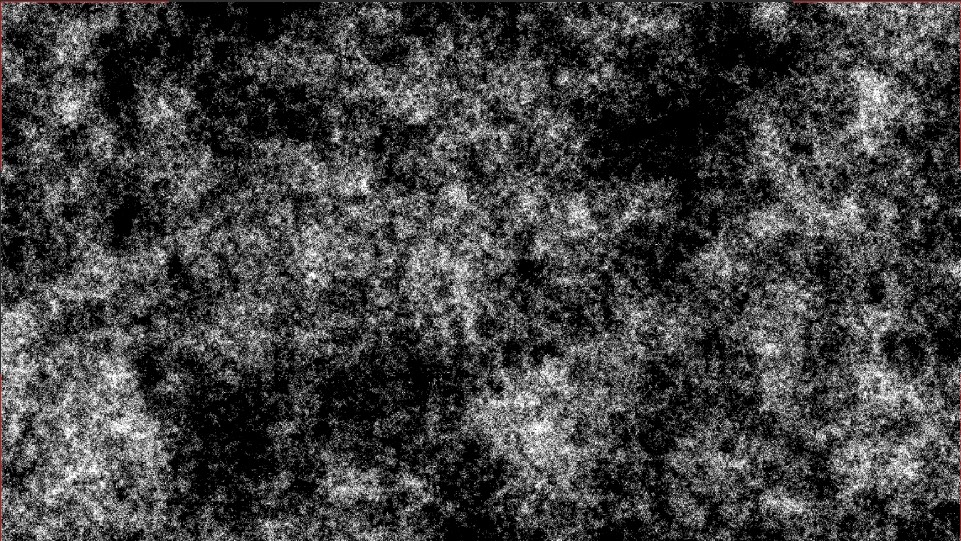
To add texture to the lines a Solid matte with Fractal Noise was used, with a high Complexity and Sub Influence.
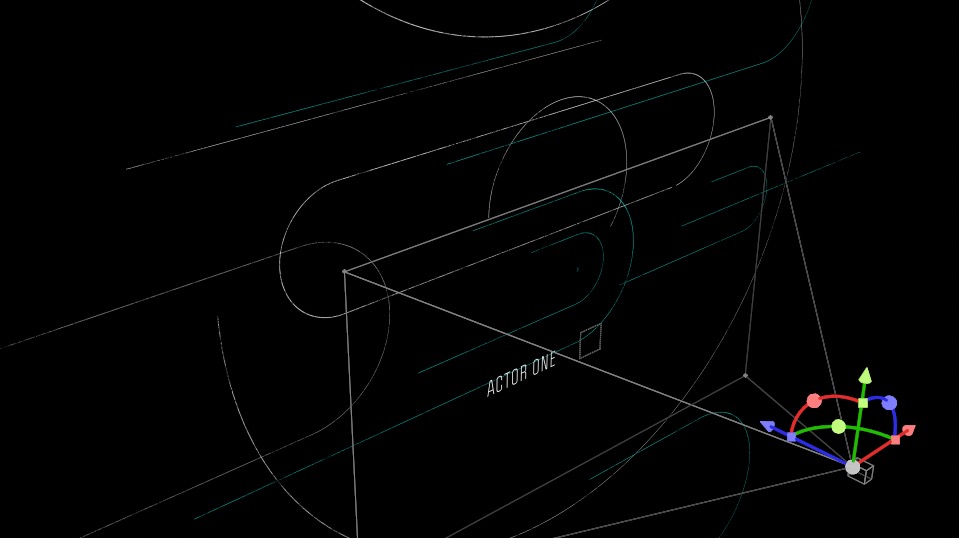
The composition was dropped into a final scene composition, which held a 3D camera, and Collapse Transformations was checked so the staggered 3D positions reacted properly to the camera movement, giving true parallax movement.
A One-Node camera was used, attached to a Null object in case the camera needed rotation. The position of the Null was then animated using a time expression.
This process was repeated for nine separate scenes, adjusting the shapes and the camera direction in each.
Text was added as a 3D layer, so it would move with the camera. The font chosen was Politica Regular Condensed as its rounded characters echo the background lozenge shapes.
Finally, a glow effect was added to the background using Gradient Ramp, and animated film grain was applied over the top using Noise HLS Auto with 5% Lightness.
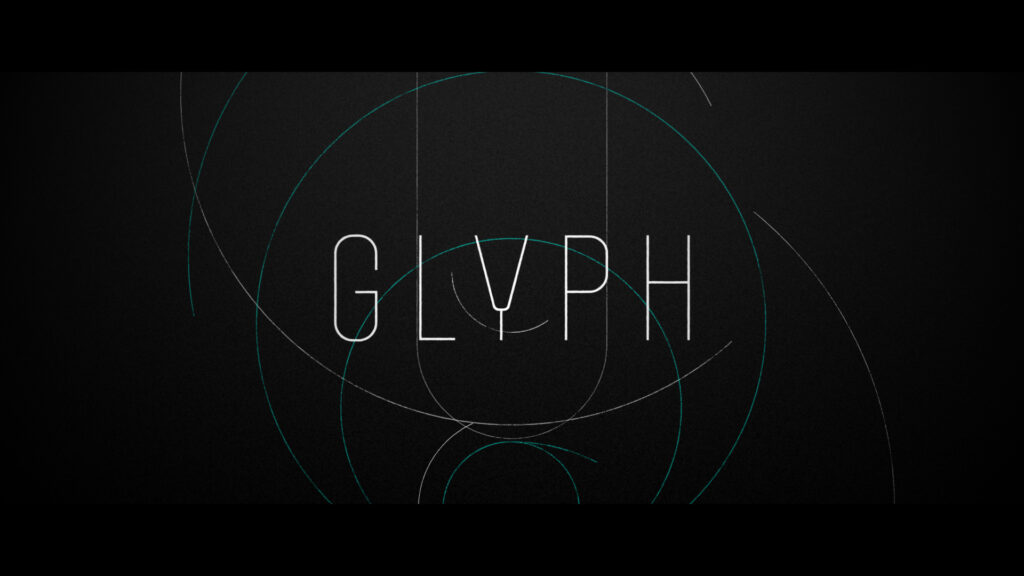
The final result is an abstract, atmospheric sequence featuring enigmatic symbols and parallax movement.
Now an editable After Effects template
If you want the project file for this sequence we’ve saved it as an After Effects template on Adobe Stock.