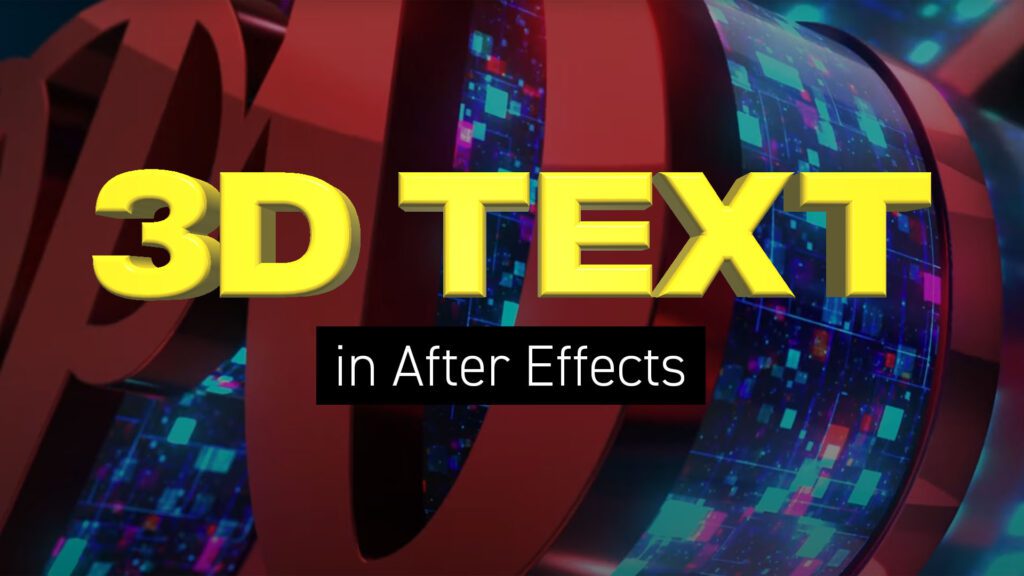
In this article we’ll look at creating 3D text inside After Effects using a variety of techniques and approaches.

Text Guide
Creating real 3D text in After Effects involves using its built-in 3D capabilities and may require some knowledge of the software. Here’s a step-by-step guide to help you achieve this:
Step 1: Open After Effects
Open Adobe After Effects on your computer and create a new composition by clicking on “Composition” > “New Composition.” Set your preferred composition settings, including resolution, duration, and frame rate.
Step 2: Create a Text Layer
Click on the “T” icon in the toolbar to create a text layer. Type the text you want to make 3D.
Step 3: Convert Text to 3D
Select your text layer, and in the “Geometry Options” section in the “Text” layer’s dropdown menu, you can select “Enable 3D” to convert your text to 3D.
Step 4: Adjust 3D Text Properties
With the text layer still selected, you can now adjust various properties to give your text a 3D appearance:
- Position: Use the “X,” “Y,” and “Z” properties to adjust the text’s position in 3D space.
- Orientation: Change the “Orientation” properties to tilt, rotate, or spin your text.
- Scale: You can increase or decrease the size of your 3D text.
Step 5: Create a Camera Layer
To make your 3D text look more realistic, you’ll need to add a camera. Go to “Layer” > “New” > “Camera” to create a new camera layer. Choose a camera preset or customize its settings according to your needs.
Step 6: Animate the Camera
To create dynamic movements, you can animate the camera. Use keyframes to change the camera’s position, rotation, and zoom over time.
Step 7: Add Lights
For realistic shading and depth, add lights to your composition. Go to “Layer” > “New” > “Light” to create a new light layer. Adjust the light’s properties, such as intensity, color, and type (Spot, Point, or Ambient).
Step 8: Adjust Material Options
To further enhance the 3D appearance of your text, you can adjust material options. This includes properties like Bevel Style, Bevel Depth, and Bevel Edge. Experiment with these settings to achieve the desired look.
Step 9: Animate Your 3D Text
You can add animation to your 3D text by setting keyframes for properties like position, rotation, and scale. Use the timeline and keyframe editor in After Effects to control the animation.
Step 10: Preview and Render
Before finalizing your project, use the RAM Preview function to see how your 3D text looks in motion. When you’re satisfied with the result, you can render your composition by going to “Composition” > “Add to Render Queue.” Configure the render settings, including the output format and destination folder, and then click “Render.”
This step-by-step guide outlines the basic process for creating real 3D text in After Effects. Remember to experiment with the various options and settings to achieve the desired look and animation for your 3D text.
Video Tutorials
Technique 1: Using in-built 3D geometry
In this first YouTube video tutorial, ShootaTime demonstrates how to create 3D text with reflections in Adobe After Effects without the need for any plugins.
This tutorial provides a step-by-step guide to create impressive 3D text in Adobe After Effects, covering essential aspects such as text extrusion, camera movement, lighting, environment integration, animation, and effects, making it a valuable resource for users looking to enhance their video editing skills.
The process begins with creating a new composition and setting it to a 3D renderer called Cinema 4D. He then adds 3D text, adjusts its extrusion depth, and adds a camera to the scene, allowing for dynamic camera movement.
Lighting is introduced to the composition by adding parallel lights from different angles to illuminate the text. A colorful environment is incorporated, enhancing the visuals, and the presenter explains how to apply different environments to the text.
Finally, the video touches on animating the camera and text, as well as adding effects and animated textures for further customization.
Technique 2: Faking 3D
In this YouTube tutorial, Mike Murphy demonstrates how to create a faux 3D extrusion effect using Adobe After Effects CC 2022.
This tutorial provides a step-by-step guide for After Effects users to achieve a compelling 3D extrusion effect, making it accessible to both beginners and more experienced users looking to enhance their motion graphics skills.
He starts by adding text and converting it to shape layers. Then, he organizes the text into a group for better control. To achieve the faux 3D effect, he adds a stroke and a repeater, adjusting various properties such as color, width, and number of copies.
Mike also explains how to animate the effect by adding keyframes and offers tips on applying finishing touches like roughen edges and turbulent displace effects.
By the end of the tutorial, viewers will have learned how to create and animate a captivating faux 3D extrusion effect in Adobe After Effects CC 2022.
Technique 3: Using the Element 3D plugin
In this comprehensive tutorial, the presenter guides viewers through the process of creating a 3D text effect using the Element 3D plugin. The tutorial covers a wide range of topics, from setting up the composition and importing textures to fine-tuning materials, lighting, reflections, and depth of field effects.
The instructor’s emphasis on customization and attention to detail allows viewers to achieve a visually stunning 3D text effect.
The video begins with a step-by-step guide on how to set up a new composition, import textures, apply the Element 3D plugin, and configure various settings for the 3D text. The tutorial covers essential aspects such as text alignment, extrusion, materials, lighting, reflections, and depth of field effects.
Throughout the video, the instructor emphasizes customization and provides tips on enhancing the text’s appearance, resulting in a final product that is both glossy and visually impressive.

