Adding a background image to your PowerPoint slides can make your presentation visually engaging and memorable. Here’s a step-by-step guide on how to do it, using Microsoft PowerPoint (versions may vary slightly, but these steps should guide most recent versions):
Step 1: Open Your Presentation
- Launch PowerPoint and open the presentation you wish to modify. You can also start with a new presentation if you prefer.
Step 2: Select the Slide
- Navigate to the slide where you want to add the background image. If you want to apply the background to all slides, you can do this later.
Step 3: Access the Background Settings
- Go to the Design tab on the Ribbon.
- Click on Background Styles. This button is usually found to the right of the themes and variants.
- Choose Format Background from the dropdown menu. This will open a formatting pane on the right side of the screen.
Step 4: Insert the Background Image
- In the Format Background pane, select Picture or texture fill.
- Click on File to choose an image from your computer. This will open your file explorer.
- Browse to find the image you want to use, select it, and then click Insert.
Step 5: Adjust the Image Options
- Once the image is inserted, you can adjust its settings:
- Transparency: Adjust the slider to make your image more or less transparent, allowing for better visibility of text and other elements on your slide.
- Tile picture as texture: If your image is small, you might want to tile it to cover the whole background.
- Offset X/Y, Scale X/Y, Alignment, and Mirror type: These settings let you adjust the positioning and scaling of your image to fit the slide perfectly.
Step 6: Apply to All Slides (Optional)
- If you want this background image to appear on all slides in your presentation, click Apply to All at the bottom of the Format Background pane.
- If you only want it on the current slide, simply close the Format Background pane.
Step 7: Check and Modify
- Review your slide or slides to ensure the background looks as expected.
- You can always go back and tweak the background settings by repeating the above steps.
Step 8: Save Your Presentation
- Save your changes by clicking File > Save, or use the shortcut Ctrl+S.
Additional Tips
- Choose appropriate images: Select background images that don’t overpower your text. Ideally, use images that are subtle and complement your presentation’s theme.
- Consider text readability: Make sure there is enough contrast between the background image and the text color to ensure that the text is readable.
- Resolution matters: Use high-resolution images to avoid pixelation, especially if you are projecting the presentation.
By following these steps, you can effectively enhance your PowerPoint presentations with custom background images, making your slides visually appealing and engaging.
Need some free background images for PowerPoint?
Look no further! We have some free cool, abstract images perfect for PowerPoint slides.
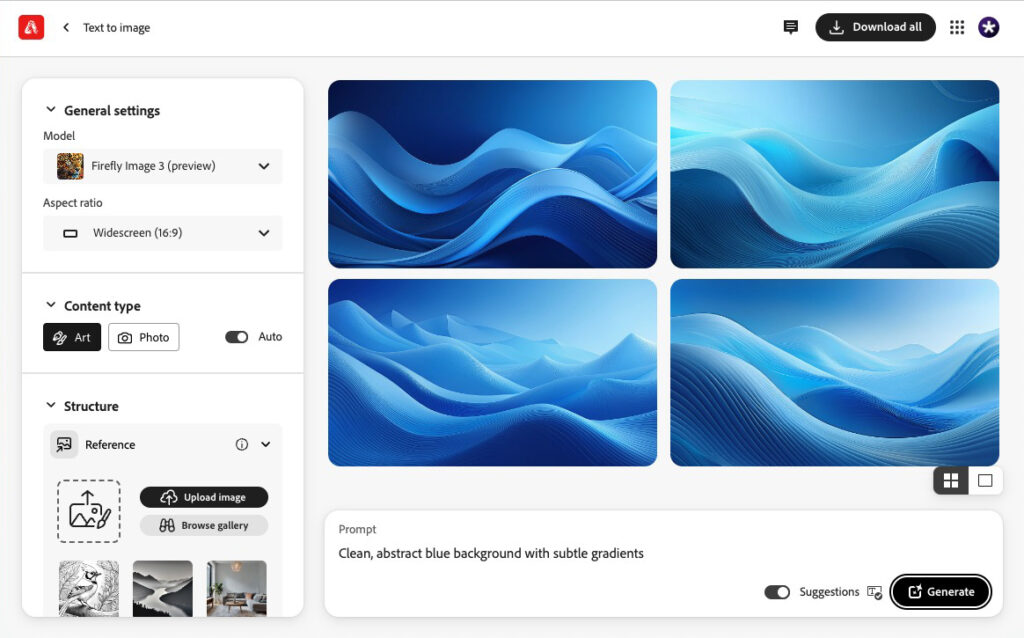
Create your own backgrounds for PowerPoint with Adobe Firefly
Fancy creating your very own PowerPoint background images quickly and easily?
Try Adobe’s Text-to-Image generative AI tool, Firefly. Simply type in the style you want to generate – abstract, business, floral, blue – whatever – then download unique and instant images to use in PowerPoint or even your social marketing channels.


