Using After Effects to create the VHS effect
Text Guide | Video Tutorials | Free Overlays | Handy Templates
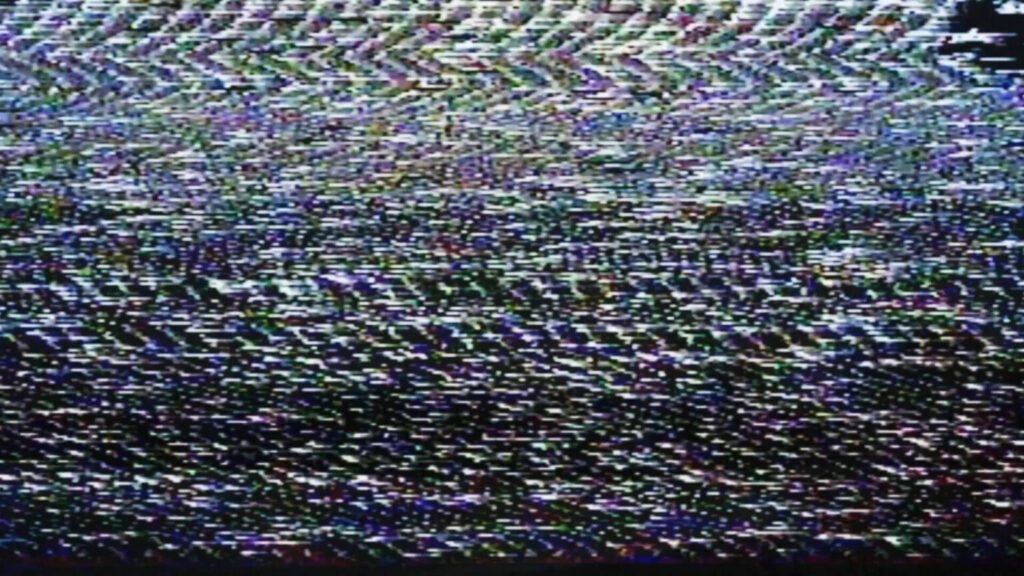
The VHS look refers to the distinctive visual characteristics associated with video recordings on VHS (Video Home System) tapes, a popular consumer video format during the late 20th century. This aesthetic has experienced a resurgence in recent years, as filmmakers, photographers, and digital artists intentionally emulate the nostalgic and gritty qualities of VHS footage.
The VHS look is characterized by its low resolution, analog artifacts, color bleed, and a unique texture that results from the limitations of the VHS format.
One of the most recognizable aspects of the VHS look is the visible scan lines that run across the screen, giving the footage a retro and dated appearance. The color palette often exhibits a warm and slightly faded tone, with noticeable distortions in color accuracy.
Additionally, VHS recordings are prone to tracking issues, creating moments of static, rolling lines, and other glitches that contribute to the vintage charm. The aesthetic has become popular in various creative fields, serving as a stylistic choice to evoke a sense of nostalgia for a bygone era when VHS tapes were the primary medium for home video consumption.
Adding a VHS look in After Effects
Adding a VHS tape style to footage in After Effects can give your video a nostalgic and vintage look. Here’s a step-by-step guide to achieve this retro, analog video effect:
Step 1: Import Your Footage
- Open After Effects and create a new composition by clicking on “Composition” in the top menu, then selecting “New Composition.”
- Import your video footage by going to File > Import > File. Locate your video file and click “Import.” Alternatively, drag and drop your footage into this composition directly from your desktop.
Step 2: Create a New Adjustment Layer
In the project panel, right-click and choose New > Adjustment Layer. This layer will be used to apply effects to the entire composition.
Step 3: Apply Noise
- Search for the “Noise” effect in the Effects & Presets panel.
- Drag the “Noise” effect onto the adjustment layer.
- Adjust the settings such as the amount of noise, contrast, and color noise to achieve the desired film grain. You can find these settings in the Effects Control panel.
Step 4: Apply Scan Lines
- Create a new solid layer by right-clicking in the timeline and selecting New > Solid.
- Apply the “Venetian Blinds” effect to the solid layer. Adjust the direction and width to create horizontal scan lines. You can find the “Venetian Blinds” effect in the Effects & Presets panel.
Step 5: Add Color Aberration
- Duplicate your footage layer by selecting it and pressing Ctrl+D (Windows) or Cmd+D (Mac).
- Move one of the duplicated layers slightly to the left or right using the arrow keys.
- Apply the “Shift Channels” effect to one of the duplicated layers. Set the “Take Alpha From” dropdown menu to “None.”
- Adjust the color channels to create a color separation effect.
Step 6: Apply Vignette
- Create a new adjustment layer.
- Apply the “Vignette” effect to the adjustment layer.
- Adjust the settings to create a subtle darkening around the edges of the frame.
Step 7: Desaturate the Colors
- Apply the “Hue/Saturation” effect to the adjustment layer.
- Reduce the saturation slightly to give the footage a more muted look.
Step 8: Create a Flickering Effect
- Create a new adjustment layer.
- Apply the “Brightness & Contrast” effect to the adjustment layer.
- Animate the brightness and contrast values over time to create a flickering effect. You can use a wiggle expression on the Brightness value, such as “wiggle (20,50)” to achieve the flicker.
Adding VHS Warp Effects (Optional)
Adding TV screen warping or distortion, commonly seen on damaged VHS tapes, can enhance the vintage aesthetic. Remember that subtlety is key when applying these effects. Too much distortion may make your footage hard to watch, so experiment with different settings and find the balance that works for your specific project.
Here are some additional steps to achieve this distorted video effect:
Step 9: Apply TV Screen Warping
- Start by creating a new adjustment layer.
- Search for the “Wave Warp” effect in the Effects & Presets panel then drag the “Wave Warp” effect onto the adjustment layer.
- In the Effects Control panel, adjust the “Wave Type” to “Noise.”
- Experiment with the “Wave Width,” “Wave Height,” and “Direction” settings to create a subtle but noticeable warping effect.
Step 10: Create Tape Jitter
- Create another new adjustment layer.
- Apply the “Time Displacement” effect to the adjustment layer.
- Use a displacement map to create a jittery effect. You can create a black-and-white composition and add Fractal Noise or use an existing one as the displacement map. Experiment with different maps for varying results.
- Animate the “Max Horizontal Displacement” and “Max Vertical Displacement” settings to control the intensity of the jitter.
Step 11: Adjust Effect Appearance
- Select all adjustment layers you’ve added (Noise, Scan Lines, Vignette, Hue/Saturation, TV Screen Warping, and Time Displacement).
- Next, press “T” to reveal the Opacity properties.
- Create keyframes on the opacity property to control when the effects are most pronounced. For example, you might want the warping and distortion to be more noticeable at certain points in your video.
- Alternatively, you can duplicate and trim down these adjustment layers and shift them around on the Timeline.
Step 12: Fine-Tune and Preview
- Play through your composition to ensure that the TV screen warping and additional glitch effects create the desired look.
- Fine-tune any settings or keyframes as needed.
Step 13: Export Your Video
- Once you’re satisfied, go to Composition > Add to Render Queue to export your video with the VHS effect.
Remember to experiment with different settings to achieve the specific VHS look you want for your footage.
VHS Video Tutorials
Want to see the VHS effect techniques in action? Here are some of our favorite video tutorials to help you along.
Free VHS Overlays
Looking for some free VHS video overlays to add that 80’s retro feel in an instant? Let’s take a look at what we’ve found:
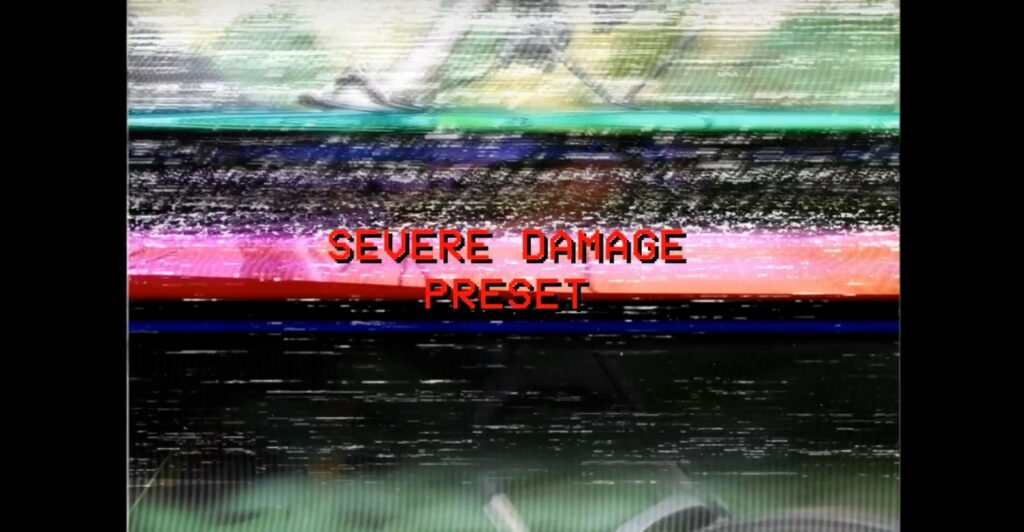
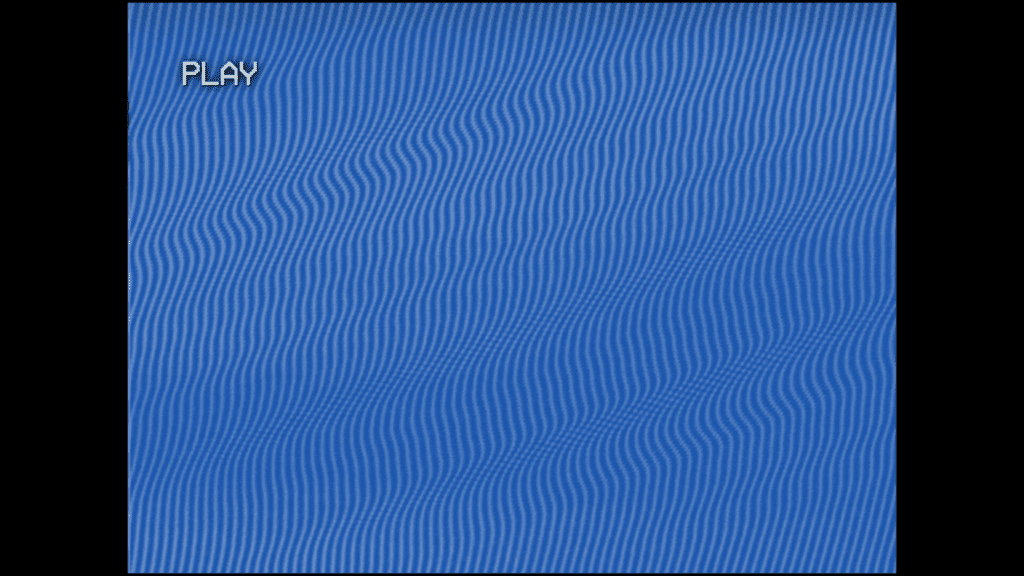
Over on Enchanted Media, we have a VHS tape video overlay effect with bad tracking, depicting Play and Stop tape functions. Click the image below to go get it!
Adobe Stock has tonnes of free video clips, including retro VHS video effects. Click the thumbnails below to visit Adobe Stock.
Handy VHS Templates
We have a bunch of time-saving, editable templates for After Effects featuring the VHS style: